 Sage.Education
Setting up a Pi as a mini private internet! Let's break this down into steps. We'll need to:
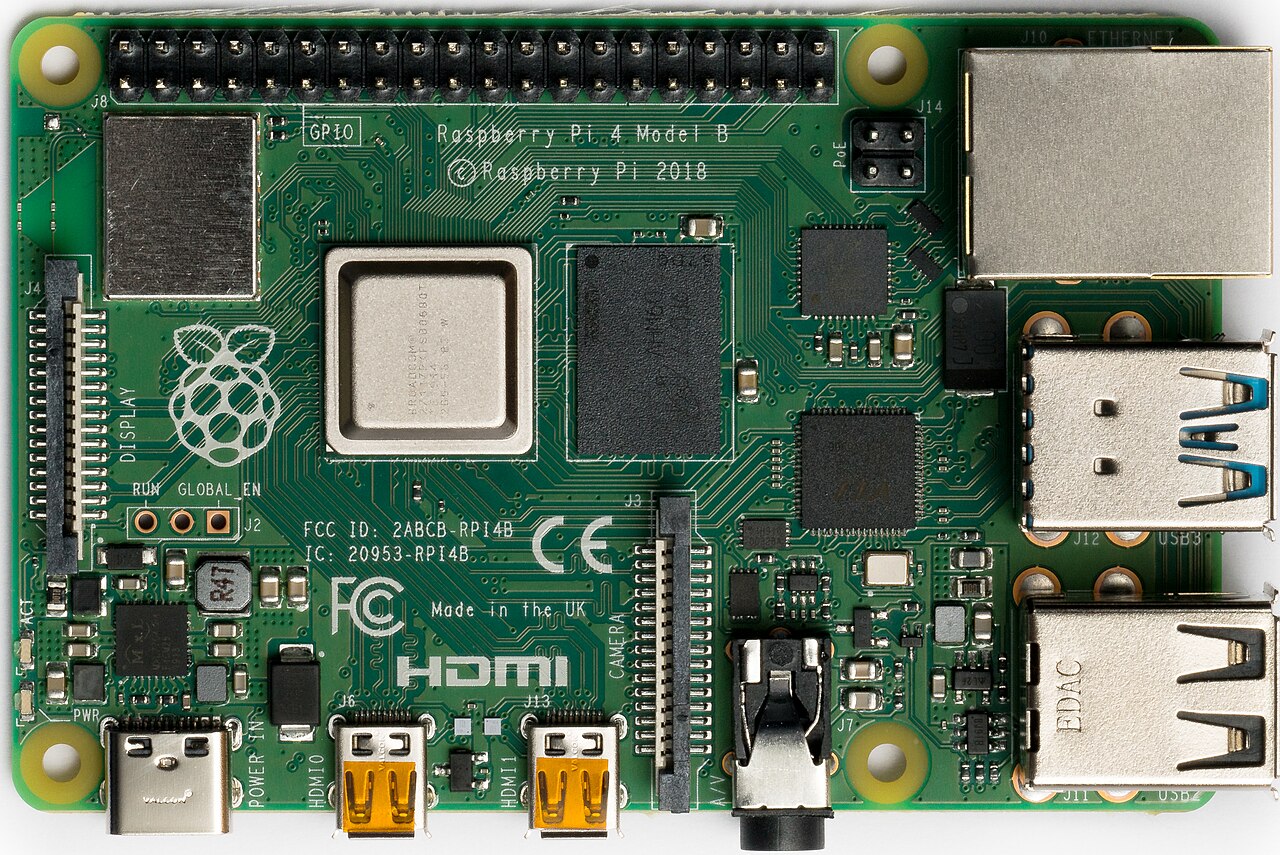
- Set up the Raspberry Pi 4 with Raspberry Pi OS
- Configure Nginx as a web server
- Set up Wi-Fi Access Point (AP) functionality
- Configure file upload functionality
Step 1: Set Up Raspberry Pi 4 with Raspberry Pi OS
- Download and install the latest Raspberry Pi OS Lite (headless version) from the official Raspberry Pi website.
- Flash the OS image to your microSD card using a tool like Rufus or BalenaEtcher.
- Insert the microSD card into your Raspberry Pi 4 and boot it up.
Step 2: Configure Nginx as a Web Server
- Update the package list and upgrade the system:
sudo apt update && sudo apt upgrade -y - Install Nginx:
sudo apt install nginx -y - Start Nginx and enable it to start at boot:
sudo systemctl start nginx
sudo systemctl enable nginx
Step 3: Set Up Wi-Fi Access Point (AP)
- Install the necessary packages for AP functionality:
sudo apt install hostapd dnsmasq -y - Disable the default dnsmasq service:
sudo systemctl stop dnsmasq sudo systemctl disable dnsmasq - Create a new dnsmasq configuration file:
Add the following content:sudo nano /etc/dnsmasq.confinterface=wlan0 dhcp-range=192.168.4,192.168.4.20,255.255.255.0,24h - Create a hostapd configuration file:
Add the following content:sudo nano /etc/hostapd/hostapd.confinterface=wlan0 driver=nl80211 ssid=YourNetworkName wmm=0 macaddr_acl=0 auth_algs=1 ignore_broadcast_ssid=0 wpa=2 wpa_passphrase=YourPassword wpa_key_mgmt=WPA-PSK wpa_pairwise=TKIP rsnl_pairwise=TKIP - Enable and start hostapd:
sudo systemctl unmask hostapd
sudo systemctl enable hostapd
sudo systemctl start hostapd
Step 4: Configure File Upload Functionality
- Create a directory for uploaded files:
sudo mkdir -p /var/www/uploads sudo chown -R www-data:www-data /var/www/uploads sudo chmod -R 755 /var/www/uploads - Configure Nginx to allow file uploads. Create a new configuration file:
Add the following content:sudo nano /etc/nginx/sites-available/upload.confserver { listen 80; server_name your_server_ip; root /var/www/html; index index.html index.htm; location /upload { client_max_body_size 10m; client_body_in_file_only on; client_body_temp_path /tmp/; client_body_buffer_size 128k; dav_methods PUT; dav_ext_methods PROPPATCH MKCOL COPY MOVE; create_full_put_path on; dava_lock_db /var/www/uploads/lock.db; dav_safety_filename off; allow all; } } - Enable the new configuration:
sudo ln -s /etc/nginx/sites-available/upload.conf /etc/nginx/sites-enabled/
sudo nginx -t
sudo systemctl reload nginx
Step 5: Test the Setup
- Connect to the Wi-Fi network you created using the SSID and password you specified in the hostapd configuration.
- Access the web server by navigating to
http://your_server_ipin your browser. - Test file uploads by sending files to the
/uploadendpoint using tools likecurlor a web interface you can create.
Notes:
- Make sure to set proper permissions and access controls for the upload directory to prevent unauthorized access.
This setup will allow users to connect to your Raspberry Pi 4 as a Wi-Fi access point and upload files to the server.